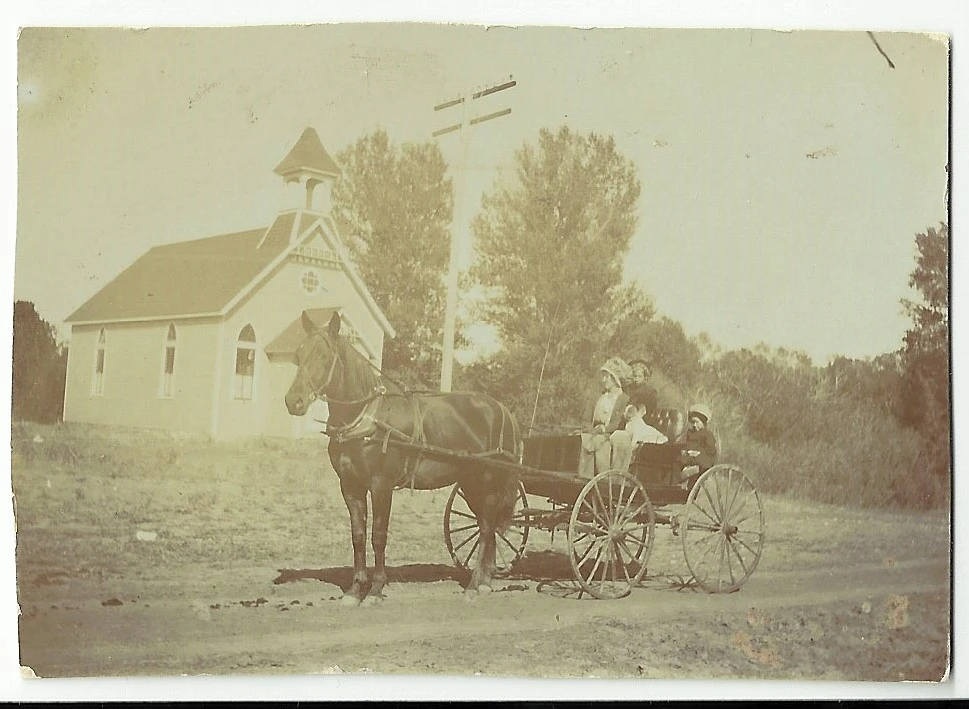
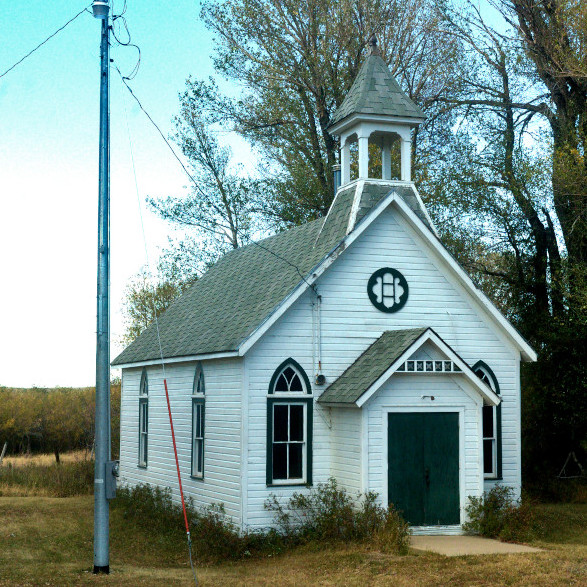
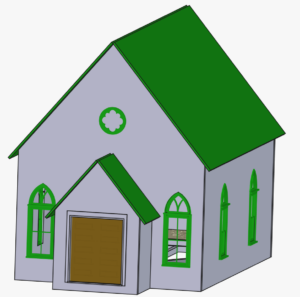
The Elk Mountain Community Church was built in 1905 on land donated by a local resident. First known as the People’s Church, it was formally deeded as the Elk Mountain Union Church in 1927 but the deed wasn’t filed at the county courthouse until 1948.
At some point along the way, the name changed to the Elk Mountain Community Church. The denomination of services depended on the preacher available; Protestant, Catholic, all that was necessary was the OK from the Board of Trustees. Services rotated based on the number of ministers available; every other week if two, every third week if three. Or none if none.
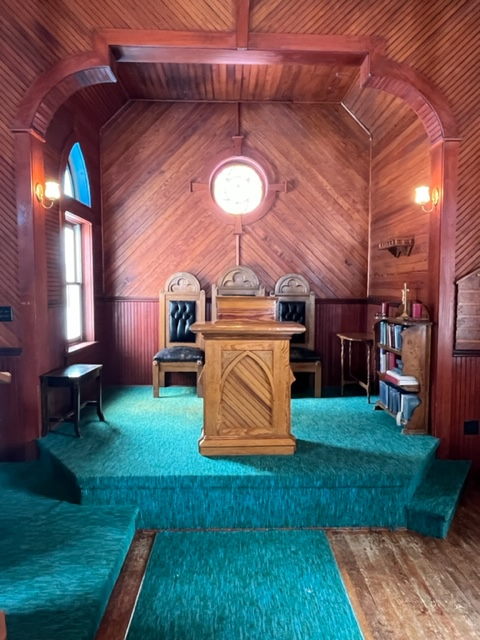
The prototype annex is unknown; not visible from photos. It is inferred from indoor photos.
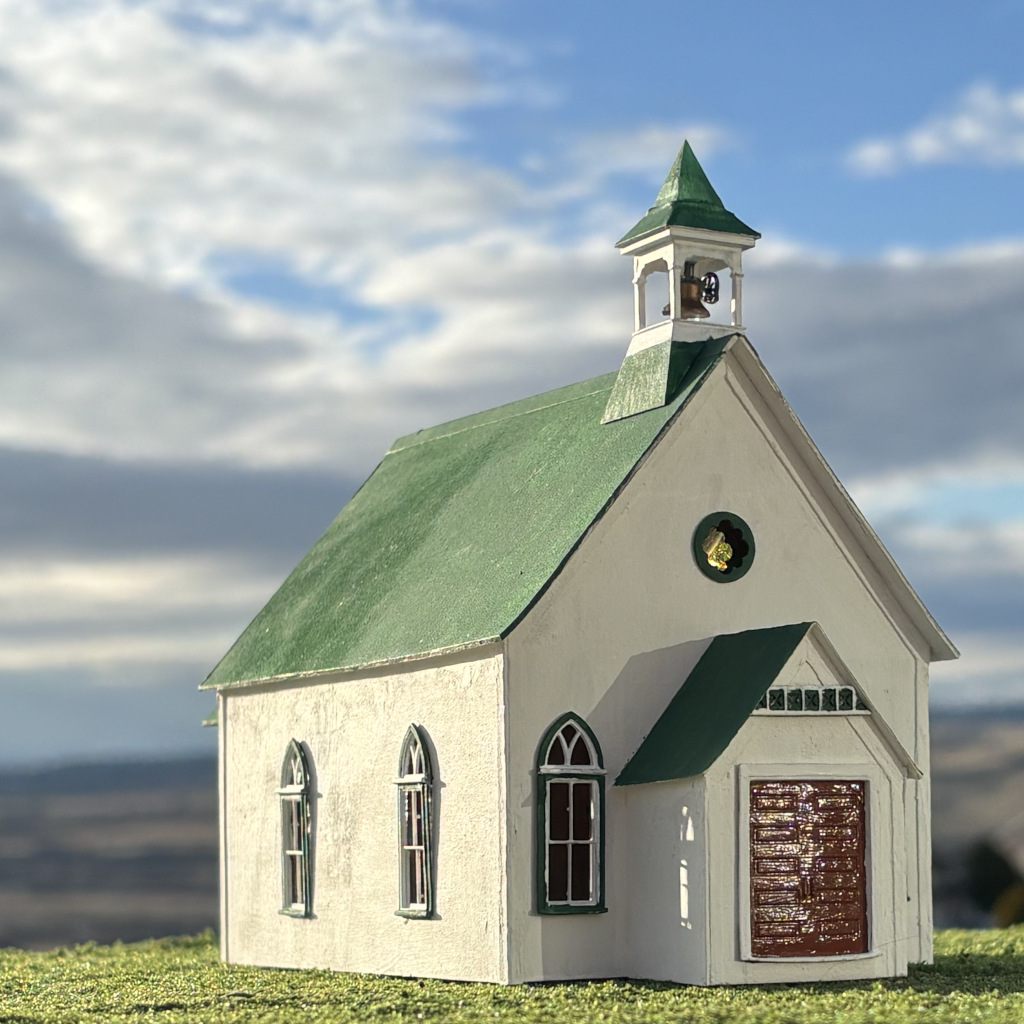
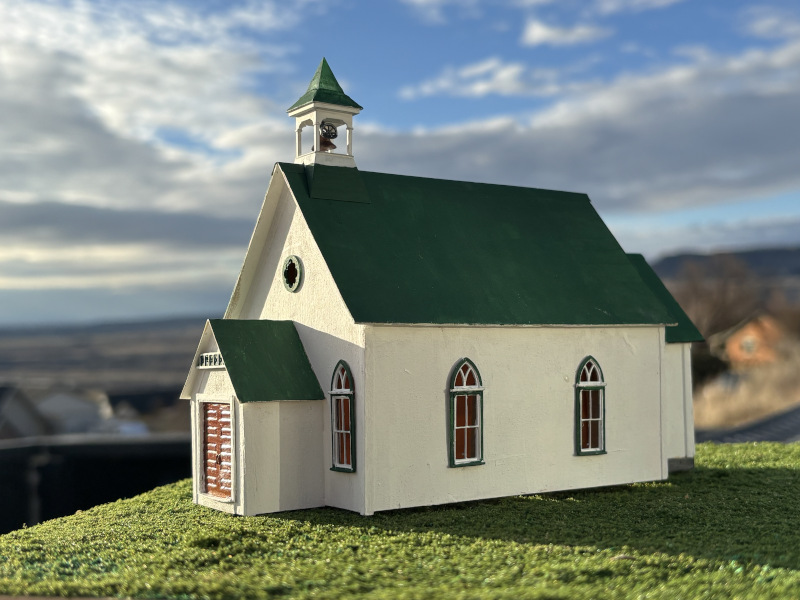
A pre-production example.
Construction
Bracing
Construction begins by applying bracing along the sidewalls. Bracing may be placed vertically between the windows and along the length above the windows. Bracing is also applied across the front wall between the windows. Additional bracing may be placed diagonally on both roof pieces, making sure to place the bracing so that it doesn’t interfere with the assembly of the walls.
Bracing material is included with the kit.
Paint
Paint the windows, door, steeple, bell, round trim, cross trim, and annex foundation as desired. Leave the walls and roof pieces bare for now. Per prototype, the windows are white with green trim, the door (not prototypical) is intended to be varnished wood with white trim, the steeple is white with roofing base and roof. The (presumed) bell is bronze with black frame, the round trim is green, the cross-trim is green framed with white, the annex foundation is rock.
Due to the thinness of the walls and roof, the application of paint can cause warping of the wood. Small but sturdy pieces of scrap wood – ⅛ – ¼” square can be used to brace the walls to prevent this. A 3d-printed “foundation” is used to brace the bottom edges of the walls.
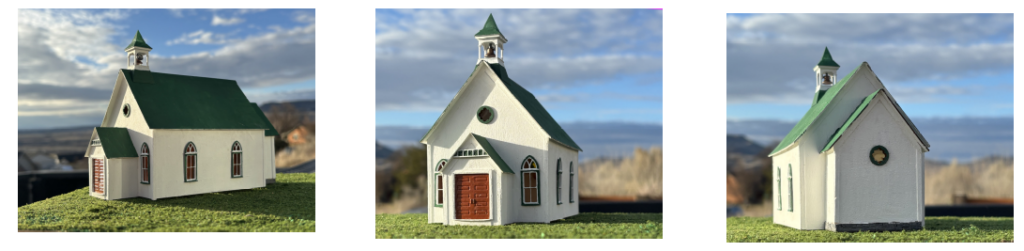
If the structure is to be a uniform color such as the example shown, painting of the walls should be deferred until the basic assembly is complete. It is recommended that the windows and doors be painted ahead of time. The example color scheme closely follows the prototype: white structure with green trim work.
Walls
The walls are assembled in two stages: First, each of the two side and end walls are assembled with 90 degree squares and clamps and set aside for the glue to dry. The walls are assembled such that the sidewalls will fit between the end walls.
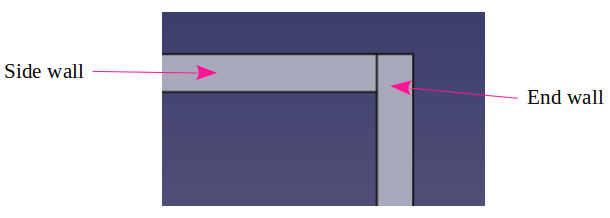
A very thin bead of glue is used to initially hold the pieces. When the glue has set enough for mild handling, the two sub-assemblies are joined, again with a thin bead of glue, using the resin base for support on the inside edges of the wall bottoms and a roof brace between the peaks of the end walls. Gorilla Glue or epoxy is used to fasten the resin brace to wood. After the initial light application of glue has set, additional glue and bracing is used to strengthen the joints. The reason for the initial light application is to minimize glue leakage to the outside of the structure.
Braces – toothpicks work – are used in the corners. Those two assemblies are fastened together using squares, clamps, and corner braces forming the main structure. Set this aside to cure.
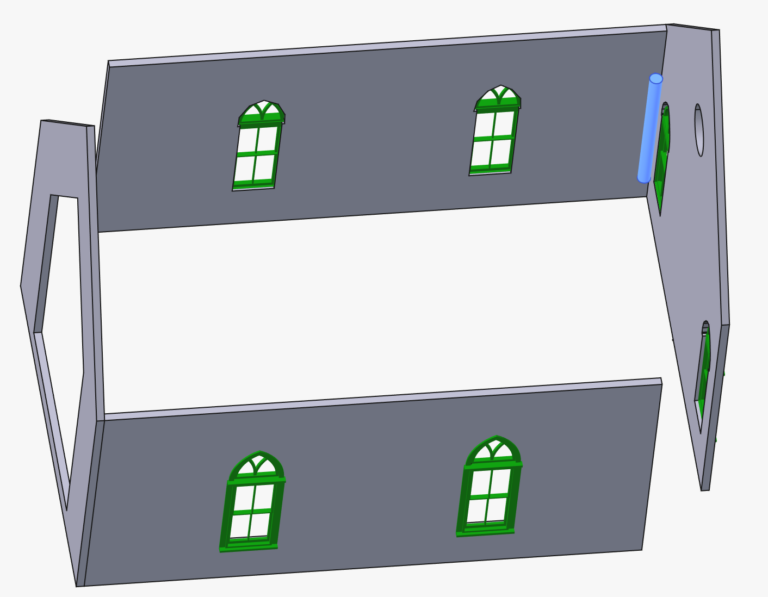
A similar process is used to build the entryway except the two sidewalls are attached to the front entry wall. This same technique used for the windows is used for the entry door on the front entry wall. When the glue of that assembly has set, it is fastened to the front wall – making sure the bottom edges are set on a flat surface. A piece of plate glass is an excellent choice for a flat surface. Make sure the walls are at 90 degree angles and evenly placed between the windows.
At this time, the front entry and main roof pieces may be attached. There will be a visible joint at the ridge; roofing material should cover that. Do not apply the roofing material at this time.
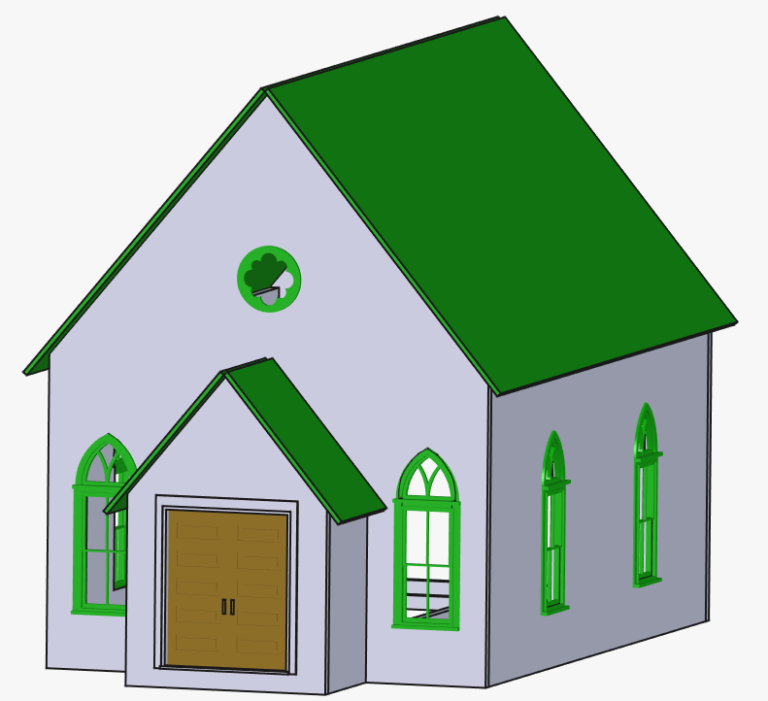
Trim Work
Once the roofs are in place, attach the trim pieces under the roof eaves and at the wall corners.
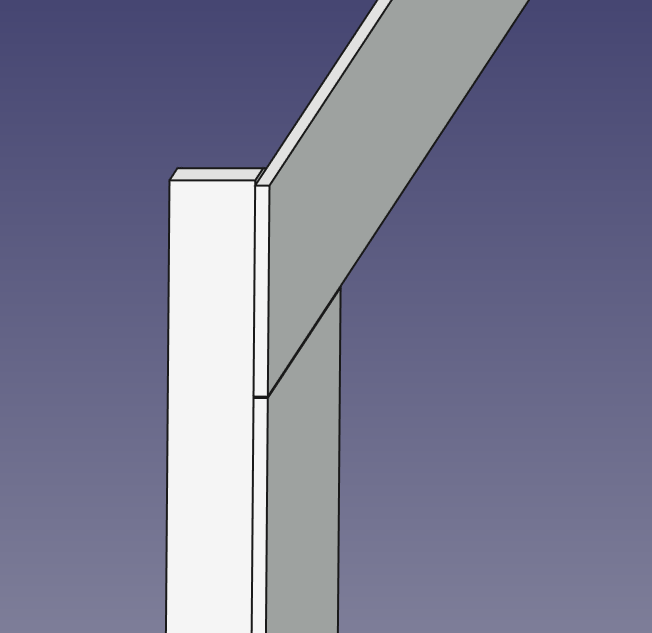
Fitting of corner trim
If not already done so, the basic structure should be painted now. The prototype is all white including under the eaves. The roof top may be painted with an undercoat color or left plain depending on the roof style selected.
The roof is a scale 5.4” thick. The edges may be painted white (or whatever appropriate color) or additional 6” trim (not included) may be added along the edges.
Don’t forget to paint the “eaves” around the edges of the roof pieces.
Windows
Now that the glue has fully set and the paint thoroughly dry, place the 6 windows into the 3 walls. The windows are all identical. To assure a flush fit, place a thin ruler or some such long flat piece down on a flat surface. Place the wall, out side down with windows in place on the ruler; the ruler holds the windows against the wall while allowing clearance for the window sills and trim. Place a weight on the inside of the structure to hold everything in place and apply glue to the inside of windows and walls. When the glue has set, cut pieces of acetate glazing to the windows. A nice touch might be to use a transparent paint to represent stained glass on the upper sections of the windows. Tamiya is one supplier of transparent colors.
The round trim on the front wall can be placed now or later.
Annex
The resin annex foundation should be glued into place now, assembling on a flat surface. The foundation is centered at the gap in the rear wall; the inside edges of the foundation should align with the edges of the gap. Use gorilla glue or epoxy and let this thoroughly set – the attachment is fragile until the walls and roof are added.
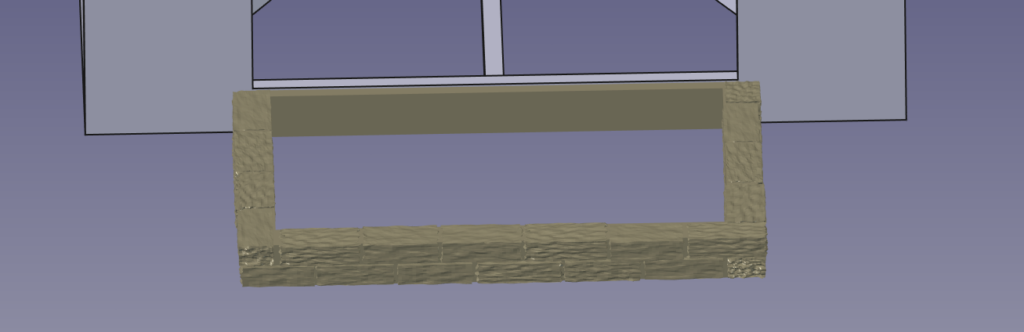
Place the window in the annex wall before annex assembly.
The three annex walls should be assembled in the same manner as the front entry; assemble the three walls assuring 90 degree corners. When the glue has set, fasten the walls to the foundation with the walls at the edges of the gap in the main rear wall.
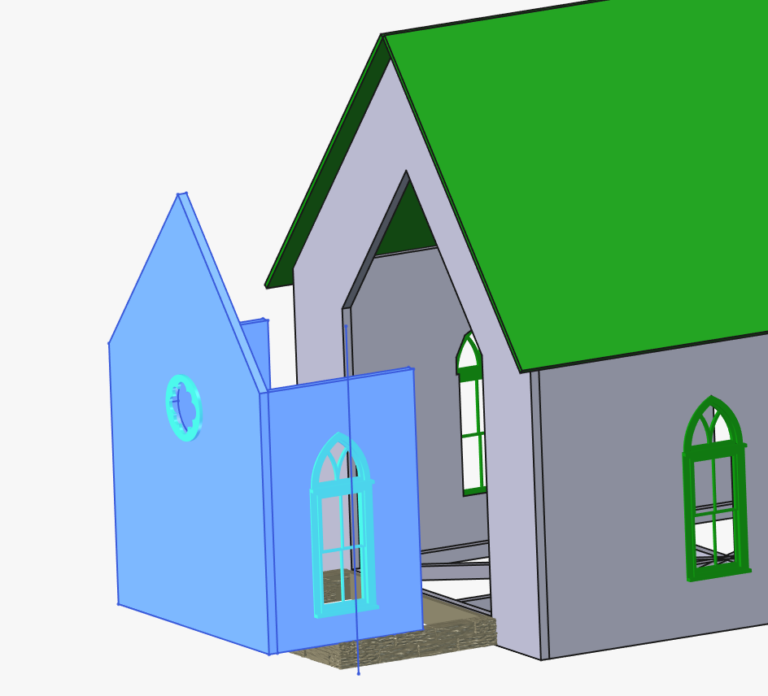
When the walls are in place, attach the roof pieces, then the annex trim.
If not done so already, place the round trim pieces on the front and rear walls. The draft model has Tamiya transparent paint applied to the acetate inside those openings.
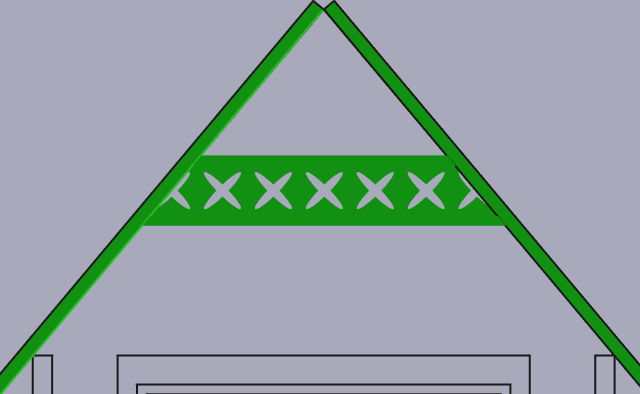
Place the cross-trim above the front door. Make sure the trim is level.
The bell is placed into the notch of the beam on the steeple frame. The wheel is aligned along the roof ridge, not across it. Place the frame on the base, then the peak on the frame. Place the assembly on the roof just behind the front wall.
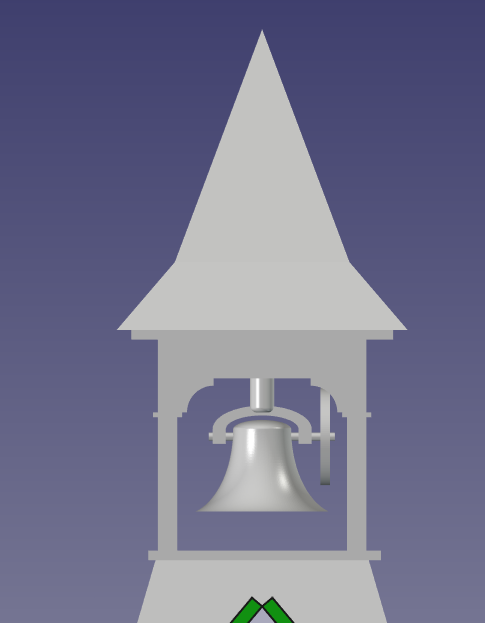
Roofing should now be placed. Shake shingles, 3-tab asphalt shingles, or modern ridged tin would be acceptable, depending on era modelled.
This completes the assembly of the Elk Mountain Community Church.
Lumber Pieces
|
Qty |
Size |
Description |
Length HOin |
|
8 |
1×6 |
Main trim |
180 |
|
4 |
1×6 |
Annex trim |
150 |
|
4 |
1×6 |
Entry trim |
110 |
|
|
|
|
|
|
4 |
1×8 |
Main roof trim |
205 |
|
2 |
1×8 |
Entry roof trim |
94 |
|
2 |
1×8 |
Annex roof trim |
131 |
|
1 |
10×12 |
Peak brace (6”) |
Cut to length |
|
1 |
10×12 |
Side brace (5”) |
Cut to length |
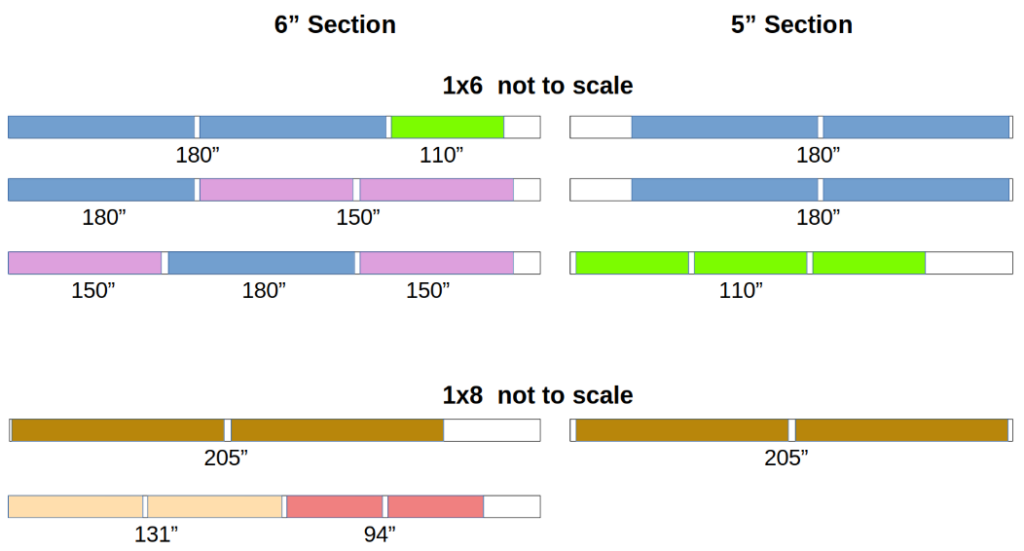
Suggested Cut Guide
These sections are approximately to scale but not close enough to use to cut pieces.
Measure to the model pieces and cut to fit